blog background

29.7.12

Recovered Chair

Last spring I purchased a cute little yellow chair from a sweet lady on craigslist. Her mother had passed away and she was having an estate sale. She said the chair had hardly been sat in, really just used for a bedroom. So I snatched it up for $50 and had ideas of recovering it for my classroom. Well I finally got to it this last week and love the way it turned out.

Here is the little chair, already it was pretty cute but I teach Kindergarten and have an impulse to make everything super colorful.

I bought 4 yards of this fabric from fabric.com and 4 of the chevron to use for another project for my Mom, but I sneaked some in here. As for the piping, I bought that fabric at Joann's to use to cover two of my bulletin boards, but snipped off an inch from the bottom to tie it into the chair.

After several hours of cutting and sewing and adding zippers to the back, I came up with this.

I really love it, and cant wait to use it this year, I do have to remember that I can't get all Ross (MY SANDWICH) if it gets a stain or a kid stands on it. 

MYYY CHAIR!! YOU YOU YOU DREW ON MY CHAIR?!!!

Have a great week!!


16.7.12

Guess WHOOOO got painted?

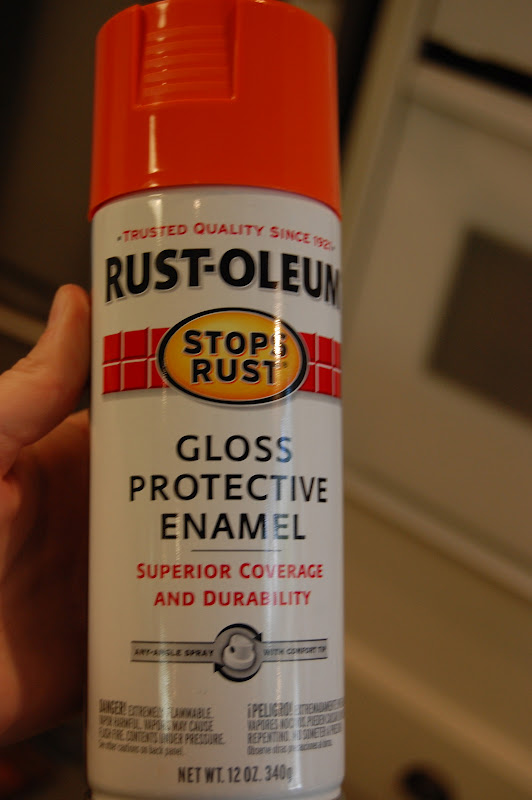
Thats right, my Anthropologie knock off owl from my post this morning got painted. About an hour after I finished my post I  ran out and got some bright orange spray paint!

I taped off the eyes, which made the owl look sad and kind of like he was waiting for execution or like he got in a fight with another owl and got his eye scratched out.
Anyway I took him outside and painted him up!
Then I mixed up some blue craft paints and went at it.

Here is the finished project

                                         Anthro's Owl                                             My Owl

I am so pleased! I love it when things turn out just how you plan.

I put him up in my kitchen cabinet
I'm glad I went with the orange, it so much more cheery.


Anthropologie Wise Ol' Owl knock off


I have loved this Anthro owl for a long time but I couldn't imagine spending $120 for it. I started looking at thrift stores and antique stores for a similar one to paint. Well what a surprise it was when I spotted this identical owl at Kirklands. Can you believe it.....Kirklands!
I think I will try to paint it like the Anthro owl but I haven't decided yet. It shouldn't take much, notice how the eyes are already painted with the same colors. And the best part was the price tag $18.99 whoop whoop!

26.6.12

Mason Jar Water Bottles

My love for mason jars continues to grow! I first posted about mason jar wine glasses here. Today I am back again with another super cute mason jar craft.

Katie and I went shopping for chalk paint at Frisco Mercantile last week. While we were there we went ahead and perused the entire store for uh I don't know a couple hours. While walking we spotted some very cute mason jar "water bottles". I took a quick photo with my iphone so I could recreate them later. 
Also check out the cute soap dispensers in the back, I almost bought one!

The mason jars they made had a punctured hole in the top of the metal lid and a rubber washer around the straw hole. 

Here is my version:


Supplies:
Mason Jar with lid (any size you choose)
Oil Cloth 
Grommets 
Cute Straws

1. Trace a circle, the size of your jar lid, onto the oil cloth
2. Cut out the oil cloth circle and make sure it fits the interior of the lid.
3. Fold the cut circle into fourths and cut a small piece from the tip of the folded fabric.
4. Open up the fabric circle and you should have a hole cut in the middle.
5. Place a grommet on both sides of the hole and punch it together using a mallet.
6. Screw the outside lid over the fabric lid you just created, add a cute straw and your favorite drink.

You don't have to use oil cloth but it is waterproof if it gets wet.

Send me a pic if you make one, I would love to see!


10.6.12

Dave Ramsey Says.....


We have been going through the FPU (Financial Peace University) class at our church for the past 9 weeks. It has changed our lives to say the least. We are trying to pay off the little bit of debt that we accumulated during our first 5 years of marriage. Words of wisdom to newlyweds: Put it back on the shelf, you don't need to buy it, you can live on love alone. We went to an all cash system a few months ago and it has been really nice/hard. It seemed to go pretty smoothly until we had to take our dog (Leilah) to the ER because we thought she was dying of stomach bloat. Turns out she just had an upset stomach, sheesh there goes $250. 

Anyway today I am going to share my envelope system.

I made these cute envelopes for each of our monthly expenses: Groceries, Dogs, Entertainment, Gas, Miscellaneous, and Fun Money.

All of the envelopes go into one large envelope (the green and white envelope)

And then that envelope goes inside a lady who swallowed a bird to catch a spider.
No actually we just keep them together in that large envelope until we need them.

If you are not familiar with how the cash system works, here it is.
Assign your money (every penny) to an area where you will spend it. When your money is gone for the month then it is gone, you may not use your money that is set aside in your checking or savings. 
It works pretty well and helps you keep tabs on what you are spending.

I encourage anyone that has debt or just wants to save to use the money system, it can truly give you financial peace!


30.4.12

New Kitchen Lights

My parents decided a few years ago, when we moved into our new house, that they were going to buy items for our home each holiday and Birthday. They have been so amazing and furnished us with some of our finest things.

Here are some of the past gifts we have received:
Our dining set and plate rack

Our wood floors


Our lovely granite


My sofa table, which now is our console table

And the latest......
New Kitchen Lights, we got two of these red lights to hang over our island.

Of course a Baker project doesn't come without it's set of challenges.

My husband and brother have a standing joke with every project. 
My husband always says "I bet it will be pretty easy, and not take very long". This has become a joke because my husband started saying it when we revamped my brothers house, and of course it was difficult and took a very long time.

So here are the details of our easy and quick project HA!

These huge boxes arrived Tuesday, which was perfect because I had the flu and it brightened up my day just a tad.

The boys started the project Saturday afternoon by removing our old light fixture. This baby was screwed in securely to the ceiling and then caulked around the edge. I guess the builders in 1993 thought this would never go out of style and remain attached forever.

I unscrewed the screws while the boys held on tightly, in case it fell. We actually ended up prying it off with a scraper and hammer.

Then we were left with this. Notice the large gaping hole on the left where said builders thought the light would never come down, therefore no need to patch the giant hole they made.

The boys started removing the fluorescent lights by disconnecting all of the wires. My brother said he felt as if he was some sort of circuit board genius.

Then we were left with this lovely look


Here is a shot of our kitchen mid project. It was a mess!

Next, my husband cut two holes into the ceiling for the new lights. He and I spent about 45 minutes discussing how far apart we should hang them and how to precisely measure that. We had to take a break because we were getting nowhere. So off to the hardware store we went.

Once our heads were clear we were able to measure, cut, and my husband started to rewire.


Here is a work in progress photo, at this point is was probably 11:00 pm


Here is the finished product. This photo was taken at 1:00 am, once the counters were cleaned off.


Here is a shot the next morning, notice we still hadn't patched the ceiling. As of now the ceiling is patched and textured but we still haven't had time to repaint. We will also add four can lights to the ceiling later for more light. I will post a photo as soon as everything is complete. But for now, aren't they lovely!!!!


I love them, so cheery!!!


25.4.12

Grandpa Son

I am heartbroken, my sweet Grandpa passed away last night. He had surgery during spring break to remove a kidney stone. Little did we know that it was not a kidney stone, it ended up being bone cancer. After that he grew weaker until he finally took his last breath last night. His passing is particularly hard for me because I was so close to him. He was a hard working man, 78 years of age and in very good shape. He was a cattle rancher, a tile setter, and a pecan farmer. He got up early each morning and loved every second of it. He and I had a very special connection, I was his tomboy granddaughter. We fished, rode horses, shared inside jokes, and much more. I keep thinking that I will go to his home and see him sitting in his recliner welcoming me with "Hey big A" (his nickname for me). You will be missed more than I can express Grandpa.
Me and Grandpa Son (his nickname was Sonny)